

Although I am still waiting for a few more testers for the the SPIRIT slouchy and cap beanie to get back to me, I'm going to go ahead and throw this one up too. LET'S TEST THEM ALL!!! YAY! LOL
This is worked top down. Begin with a chain of 40 and be sure not to twist when joining!
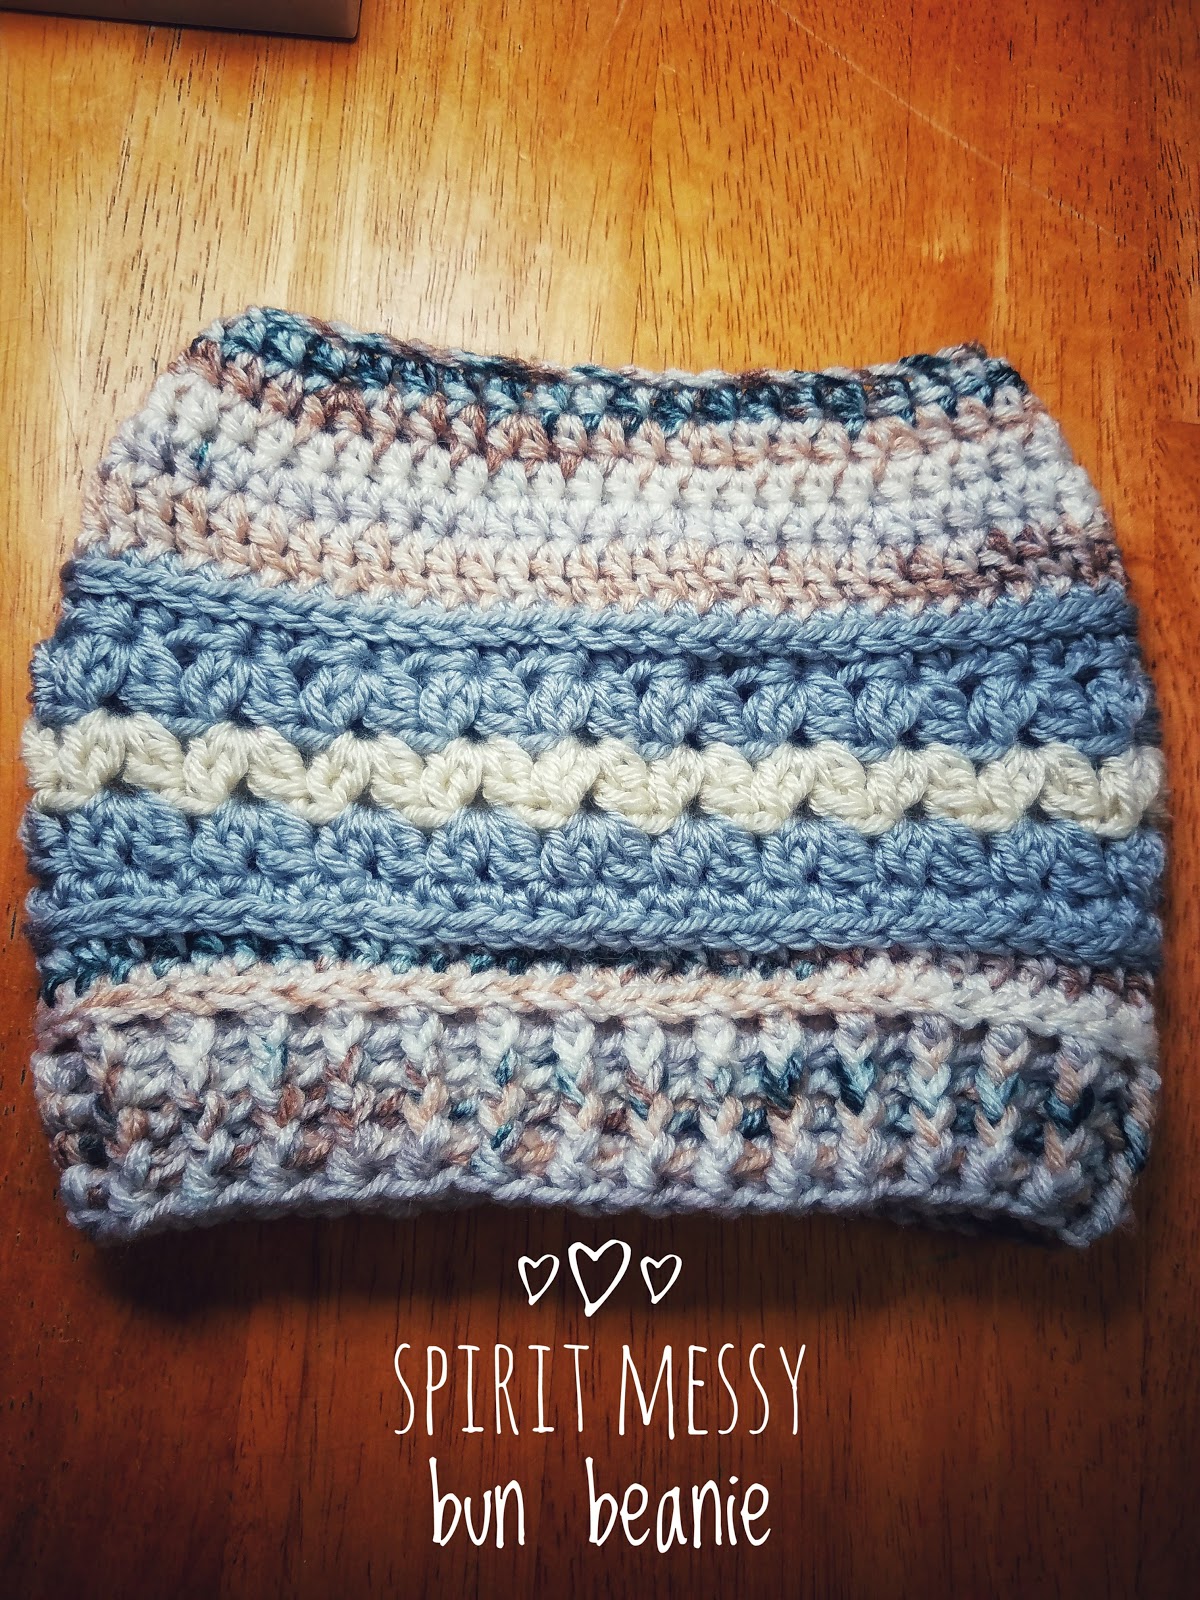
I used a 6mm hook and weight 4 in yarn. When I used a worsted weight it came out a tiny bit smaller. I also used a 5.5mm hook and the beanie turned out to be child size. I am a tight crocheter so, try on the beanie periodically when making it to ensure a good fit.
I added a few videos to show how I go about doing the Cluster V stitch and what stitches to go into when HDC'ing after the final Cluster V stitch row.
Now, lets begin!
Stitches used: Half Double Crochet, Double Crochet, Half Double Crochet Front Post, Half Double Crochet Back Post, Cluster V stitch.
Abbreviations:
ch: chain
st(s): stitch, stitches
DC: double crochet
HDC: half double crochet
HDC FP: half double crochet front post
HDC BP: half double crochet back post
The Pattern:
1. ch 40. Join.
2. ch 2. HDC in each st around. Join. =40sts
3. ch 2. In HDC, increase every 4th st around. Join. =50sts
4. ch 2. HDC in each st around. Join. =50sts
5. ch 2. In HDC, increase every 5th st around. Join. =60sts
6. ch 2. DC in each st around. Change color. Join.
7. ch 2. HDC in each st around. Join.
8. ch 2. In HDC, crochet into the 3rd loop of each st around. Join.
9. ch 2. In same space as ch, work Cluster V st. Continue working Cluster V st into every 3rd st. Change color. Join.
10. Slip st into center of first Cluster V st. Ch 2. Work Cluster V st into center of each Cluster V st from previous row, around. Change color. Join.
11. Slip st into center of first Cluster V. st. Ch 2. Work Cluster V st into center of each Cluster V st from previous row, around. Join.
12. ch 2. HDC around to get 60 stitches. Watch video. Change color. Join. =60sts
13. ch 2. In HDC, crochet into the 3rd loop of each st, around. Join.
14. ch 2. HDC in each st around. Join.
15. ch 2. In HDC, crochet into the 3rd loop of each st, around. Join.
16. ch 2. Alternate HDC FP and BP sts, around. Join.
17. Repeat 16.
18. Repeat 16.
19. Repeat 16.
Now, try on the beanie. See if the brim is covering your ears or if it needs to be shortened or made longer.
Any questions regarding this pattern please feel free to leave them in the comment section below. OR... for a much quicker response, please find me on FaceBook by clicking the link below
You are also more than welcome to post your finished product on my Facebook page!!! I would love to see your work!
Ok guys... you know the drill,
Keep it safe, Keep it Clever, Keep the Love, Peace and Light.
Captain and Chell OUT!

Finished 😆
ReplyDeleteLoved working this beauty up . Thank you for an awesomely simple yet detailed beanie.
It was easy to follow although a cluster count at the end of the row would have helped to confirm that I hadn't missed any stitches .
I opted to do a hdc foundation row for added comfort and stretch at the beginning .
I used an 8ply / dk yarn and a 5.5mm hook and did one extra rib row at the end .
I will definitely be making more for my daughters and granddaughters. Thanks again for a great ,quick project pattern .
how many shells should we have?
DeleteMadison, I just looked at my finidhed hat and have 20 shells . Hope thst helps. jjenjen
ReplyDeleteOk, going to try this from bottom up, I want to make it an ear warmer with school colors.
ReplyDeleteReally cute hat
ReplyDeleteThis beanie looks charm and cool!! I'm going to try this. Thanks for this tutorial. Check out the my version in Cool Beanie Hats
ReplyDelete